Homemade Fruit Vinegar: A Simple Guide to Fermentation

Introduction
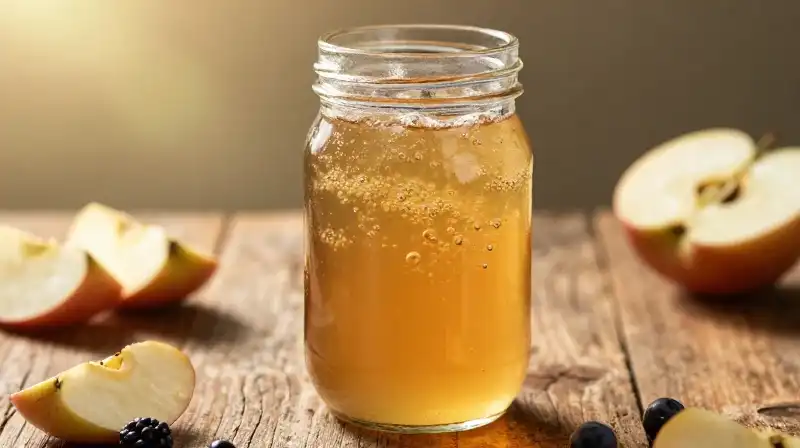
Fruit vinegar is a flavorful, fermented liquid created by converting the natural sugars found in fruit into acetic acid using a process called lacto-fermentation. Unlike traditional vinegar, which is often distilled, homemade fruit vinegar develops a complex profile directly from the raw material, offering a vibrant tang ideal for culinary use. Because the process is largely dependent on microbial activity, successfully creating a batch requires attention to basic hygiene and the right environmental conditions. This guide outlines the simple stages of transforming fruit into vinegar, from selecting the right materials to understanding the nuances of the fermentation process.
The Anatomy of Fruit Vinegar
 Understanding what makes a fruit vinegar requires knowing its primary components. It is essentially an acidic liquid resulting from a two-step process: the initial breakdown of fruit sugars by wild yeast and bacteria, and the subsequent conversion of alcohol or organic acids into acetic acid. The ingredients are intentionally simple:
- Fruit: Almost any fruit can be used, including standard produce, but the practice can be even more sustainable by utilizing scraps, peels, cores, pits, bruised fruit, or dried fruits.
- Water: Only unchlorinated water should be used to avoid introducing chemicals that could disrupt the natural fermentation process.
- Equipment: A clean glass jar and a cover (such as a paper towel secured with a rubber band or an airlock lid) are essential.
Step-by-Step Fermentation Process
The creation of homemade fruit vinegar is divided into two distinct stages. Both require patience and appropriate management.
Stage One: The Initial Ferment (Sugar Conversion)
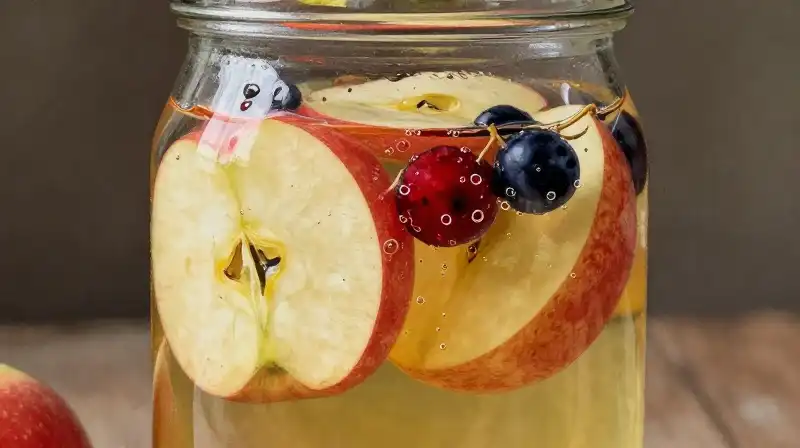
1. Preparation: Fill your clean glass jar three-quarters full with the chosen fruit. 2. Submersion: Carefully pour unchlorinated water over the fruit, ensuring that all pieces remain submerged. 3. Atmosphere: Place a secure cover on the jar. Allowing good airflow is necessary for the beneficial bacteria to thrive. 4. Monitoring: Store the jar in an optimal fermentation temperature range, typically between 55°F and 75°F. This initial period generally lasts one to two weeks. 5. Sign of Completion: The first stage is complete when the liquid visibly changes from cloudy (due to the breakdown of fruit solids) back to clear.
Stage Two: Maturation (Acid Conversion)
1. Separation: After the first ferment, carefully strain all the fruit solids out of the liquid. 2. Resting: Return the liquid to the jar. This is the maturation phase, where acetic acid is fully developed. 3. Storage Options:
- Room Temperature: Allowing the vinegar to remain at room temperature for longer times will result in a slower, more intense development of flavor.
- Refrigeration: Storing the vinegar in the refrigerator drastically slows the maturation process, preserving the current flavor profile.
Troubleshooting Common Fermentation Issues
 Fermentation is a dynamic biological process, and variations are common. Knowing how to distinguish between healthy development and spoilage is vital for successful fruit vinegar production.
Understanding the Vinegar Mother:
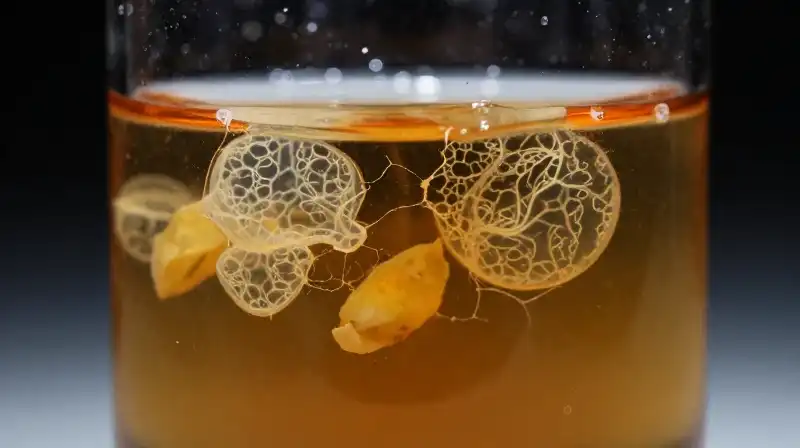
Cloudiness developing within the vinegar is usually the harmless “mother”—a healthy network of cellulose and bacteria. This is an expected part of the process and indicates beneficial fermentation. Similarly, the white foam or residue that occasionally collects on the surface is also a harmless byproduct that can be easily skimmed off.
Watch for Spoilage:
The primary indicator of spoilage is the development of fuzzy mold. If you observe fuzzy growth, discard the batch immediately, as this is not a healthy part of the fermentation process and poses a safety risk. Additionally, lack of sufficient airflow or excessive heat can disrupt the balance of the bacteria, leading to fermentation failure.
Fruit Vinegar Uses and Safety Limits
Once the vinegar reaches the desired tang and clarity, it is ready to be used. Homemade fruit vinegar offers significant versatility in the kitchen and beyond.
Culinary Applications:
The vinegar can be used exactly as standard vinegars are intended—in vinaigrettes to dress salads, substituting for balsamic or cider vinegar in baking or marinades, or diluted to create refreshing shrub drinks.
Important Safety Warnings:
It is critical to understand the limitations of homemade vinegars. While delicious and versatile, fruit vinegar should not be used in canning recipes unless its acidity has been professionally tested. Since the acidity level of home batches can vary widely based on fruit type and fermentation duration, the safety protocols required for home preservation have not been met.
Final Guide to Quality and Utility
 To ensure a successful batch of fruit vinegar, focus on control and cleanliness throughout the process. The best results come from using fresh, non-chlorinated water, allowing the fruit to fully decompose in the first stage, and managing the acidity during maturation. Pay close attention to temperature and airflow to support the natural wild yeasts and bacteria. While the vinegar can replace standard vinegars in most cooking applications, always maintain the safety warning that home-batch acidity makes it unsuitable for high-risk food preservation methods.
Frequently Asked Questions
What is a fruit vinegar?
Fruit vinegar is a flavorful, fermented liquid created by converting the natural sugars found in fruit into acetic acid through a process called lacto-fermentation. Unlike traditional distilled vinegar, it develops a complex profile directly from the raw material, offering a vibrant tang ideal for culinary use.
Homemade Fruit Vinegar Fermentation Process
Preparation
Fill a clean glass jar three-quarters full with the chosen fruit.
Submersion
Carefully pour unchlorinated water over the fruit, ensuring that all pieces remain submerged.
Atmosphere and Monitoring
Place a secure cover on the jar and store it in an optimal fermentation temperature range, typically between 55°F and 75°F.
Complete Initial Ferment (Stage One)
The first stage is complete when the liquid visibly changes from cloudy back to clear.
Separation
Carefully strain all the fruit solids out of the liquid after the initial ferment.
Maturation (Stage Two)
Return the liquid to the jar and allow it to rest to allow acetic acid to fully develop.
Storage Options
Choose storage based on desired flavor development: Room temperature for slower, more intense flavor, or refrigeration for preservation of the current profile.
Related Articles