Blue False Indigo: A Guide to Germination and Growing Seeds
Introduction
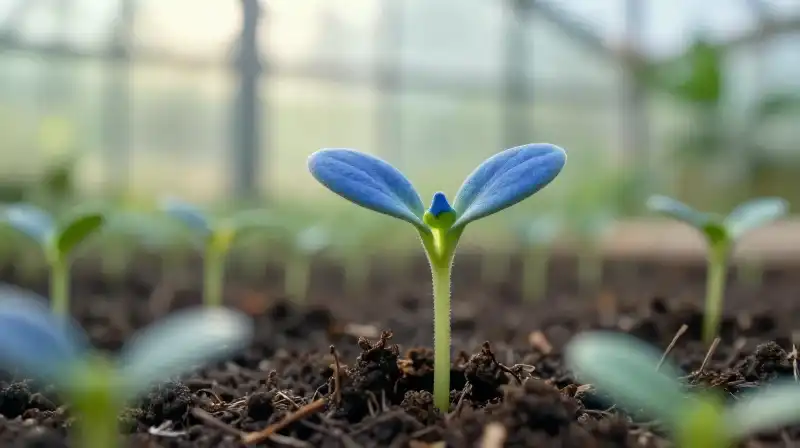
Growing Blue False Indigo, or *Baptisia australis*, provides the reward of striking dark indigo flowers and beautiful foliage, but it is considered a plant that requires patience and precision. Unlike many common garden seeds, false indigo does not germinate easily and demands specific treatments—both chemical and physical—to successfully initiate growth. To ensure a high success rate, the process is highly technical, requiring both scarification to break seed dormancy and cold stratification to mimic a natural winter cycle. This guide provides the essential steps, ranging from seed preparation to long-term garden care.
Preparing the Seed: Scarification for Germination
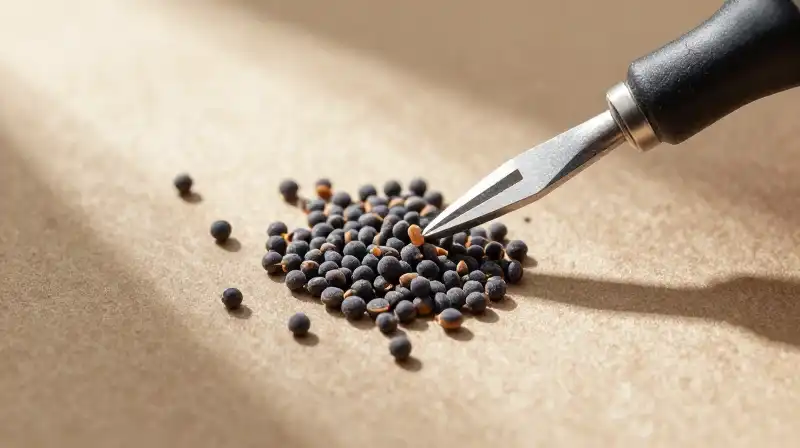 The first hurdle in growing false indigo seeds is overcoming physical dormancy. The seed coat is tough, requiring initial treatment with warmth to begin breaking it down. This step is known as scarification. Scarification involves soaking the seeds in hot water. Specifically, use water heated to 150°F (65°C) and leave the seeds submerged overnight. This process weakens the protective layer of the seed coat, allowing the subsequent stratification treatment to be more effective.
Achieving Germination Through Cold Stratification
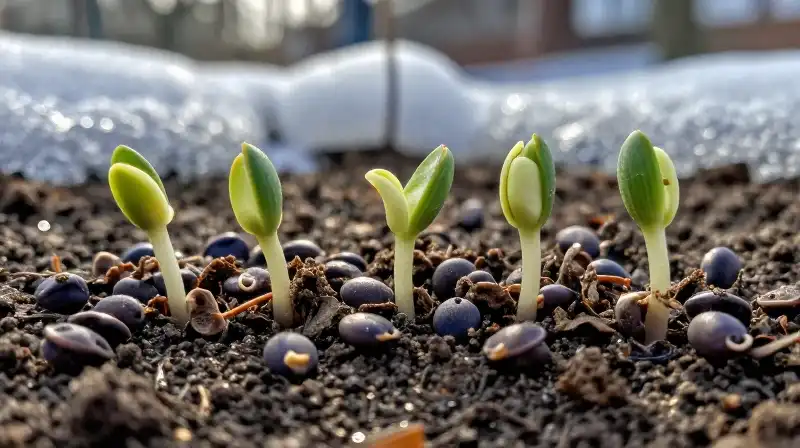 Once the seed coat is softened via scarification, the next critical step is cold stratification. This mimics the long, cold winter period required by the plant to signal that spring is approaching. **Indoor Stratification Method** If you intend to start indoors, place the scarified seeds in a sterile, soil-less growing mix. During the one-week stratification period, the seeds must be cycled between two temperatures:
- Place the seeds in the refrigerator for a period.
- Move the seeds to the freezer for a period.
It is crucial that the seeds remain consistently moist and must be stored within a sealed, labeled plastic bag to maintain moisture and hygiene. This indoor process should begin roughly five weeks before the local nighttime temperatures consistently rise above 10° C (50°F).
Indoor vs. Outdoor Planting Strategies
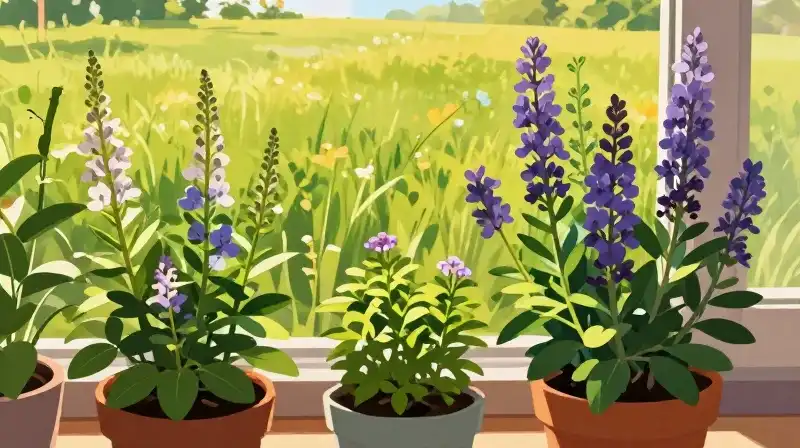 The best timing and method of planting depend on whether you are prioritizing a controlled indoor start or a natural outdoor process.
Starting Seeds Indoors
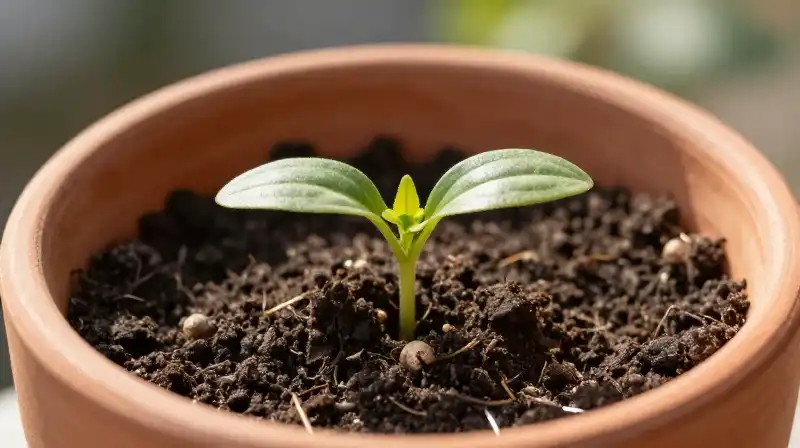
To maintain successful germination after stratification, the seeds must be planted 0.64 cm (1/4 inch) deep in suitable pots. The soil must remain consistently moist, and the pot should be kept warm, ideally between 21 C and 70 F. Young seedlings will emerge, and their rapid development is key. When the young false indigo plants reach a height of 5 cm (2 inches), they are ready to be transplanted into a larger pot or directly into the garden.
Natural Outdoor Sowing
False indigo is a robust plant that thrives in the ground. A reliable method for planting outdoors is direct sowing into a prepared seedbed during late fall. By planting seeds in the autumn, they will overwinter naturally, experiencing the cold temperatures and snowfall necessary for spring germination. **The Overwinter Potting Alternative** Another useful technique involves potting the seeds in late fall and maintaining these pots through mid-winter. Placing these pots outdoors allows them to mimic natural winter conditions and ensures the plant receives the required cold before the final spring germination push.
Growth Habits and Environmental Requirements
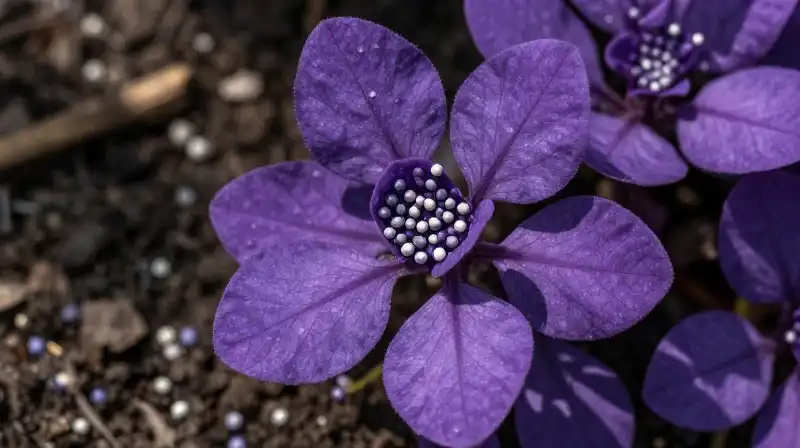 Once established, Blue False Indigo is a resilient perennial that does not require perfect conditions.
Soil and Moisture: This plant tolerates a wide variety of poor soil types, including clay, sand, and gravel, making it ideal for gardens with challenging soil structures. While it is naturally drought-tolerant, providing occasional watering during dry spells will lead to optimal growth.
Growth Patterns and Pruning: False indigo establishes itself primarily through spreading rhizomes. The plant develops slowly and may not flower for its second or third growing season. While pruning the foliage after blooming can provide a tidy appearance, it must be noted that this practice will significantly inhibit the development of seed pods.
Sowing Limitation: It is essential to understand that false indigo must be sown directly. The plant does not successfully transplant once it is large, so planting is always done into the final desired location.
Harvesting and Seed Storage
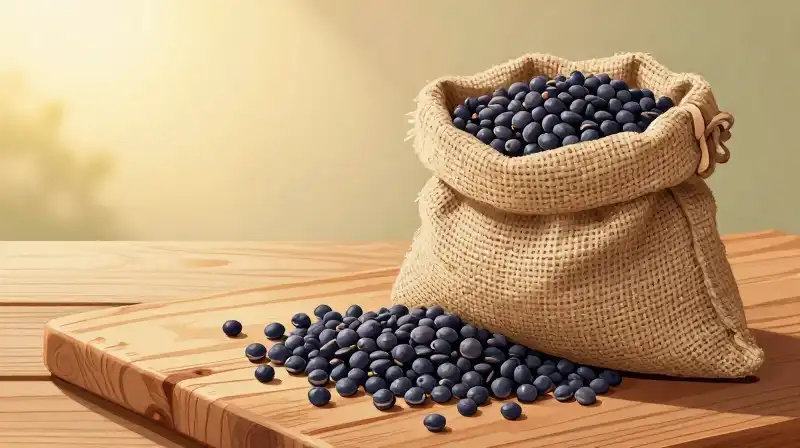 The mature seed pods of Blue False Indigo are valuable for their seed production and their aesthetic appeal.
The pods will turn black when they reach full maturity. This color change is the definitive signal that the seeds are ready for harvesting. Seeds collected from these black pods should be stored in a cool, dry location to maintain viability for the following year.
Practical Tips for Successful Cultivation
Because false indigo requires such specific preparation, successful gardening involves managing the timing and environment carefully.
| Factor | Requirement | Practical Implication |
|---|---|---|
| Scarification | Soak seeds in 150°F water overnight. | Always perform this step before attempting stratification. |
| Stratification | One week of alternating refrigeration and freezing. | Only start this process five weeks before outdoor temperatures stabilize above 10° C. |
| Planting Depth | 0.64 cm (1/4 inch) for indoor starts. | Incorrect depth will severely inhibit germination. |
| Post-Bloom Care | Allow pods to develop. | Pruning foliage after blooming prevents pod formation and future seed collection. |
If you are seeking true Wild Indigo (*Baptisia* species), understand that it is often used interchangeably with Blue False Indigo, but careful research is needed regarding specific seed varieties.
How to Grow Blue False Indigo (*Baptisia australis*) from Seed
Scarification
Soak the seeds in water heated to 150°F (65°C) and allow them to submerge overnight. This weakens the protective seed coat.
Cold Stratification (Indoor Method)
Place scarified seeds in a sterile, moist, soil-less growing mix and cycle them between the refrigerator and the freezer for one week. Begin this process approximately five weeks before local nighttime temperatures rise above 10° C (50°F).
Indoor Planting
Plant the stratified seeds 0.64 cm (1/4 inch) deep in suitable pots, maintaining consistent moisture and a warm environment between 21 C and 70 F.
Outdoor Direct Sowing
For a natural process, sow seeds directly into a prepared seedbed during late fall, allowing them to overwinter naturally.
Harvesting and Storage
Wait for the seed pods to turn black to indicate maturity. Harvest the seeds and store them in a cool, dry location.
Related Articles