Green Velvet Boxwood Planting: Step-by-Step Guide to Success

Introduction
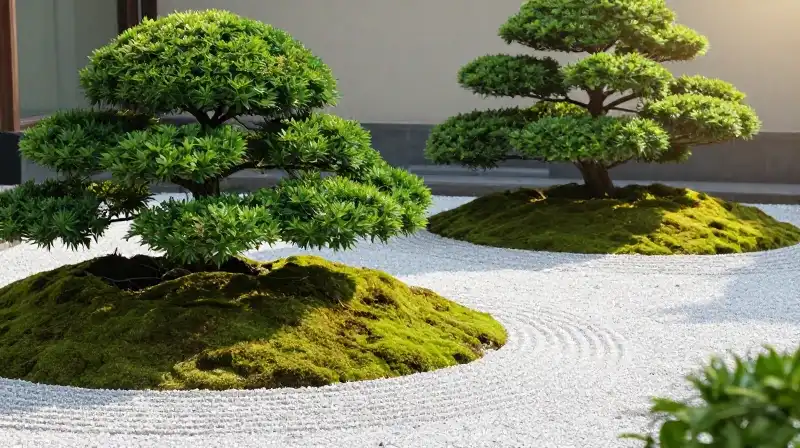
The Green Velvet Boxwood is a cherished shrub in landscape design, prized for its distinctive texture and vibrant emerald foliage. With its natural tendency toward dense, spherical growth, it provides remarkable structure, making it suitable for formal borders or as a powerful standalone feature in a casual garden. Because this hybrid is naturally resilient to stressors like urban smog and deer, it is a favored choice for modern and established gardens. However, maximizing its dramatic “velvet” appearance and long-term health requires specific horticultural practices. Successful Green Velvet Boxwood planting goes beyond simply digging a hole; it involves carefully preparing the soil, positioning the root system correctly, and implementing immediate care protocols to ensure the plant establishes its robust nature.
Optimal Site and Soil Preparation
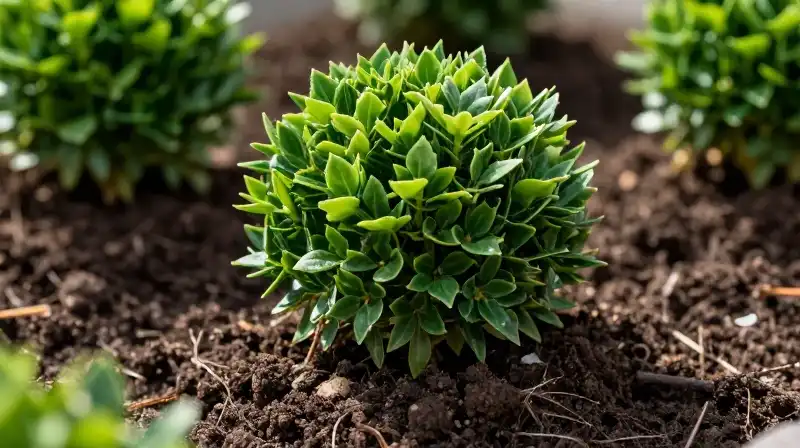
Before the first spade touches the ground, establishing the right environment is crucial for a sturdy start. Understanding the site conditions and the precise blend of soil allows the roots to develop efficiently, supporting the plant’s hardiness and growth rate.
Selecting the Right Light and Location
Green Velvet Boxwood thrives in locations receiving full or partial sunlight. While it is quite adaptable, ensuring adequate light promotes the vibrant emerald colors and helps maintain the density of the spherical growth pattern. Position the shrub where it can be admired and where its resistance to pests and diseases can be fully utilized.
Designing the Planting Basin
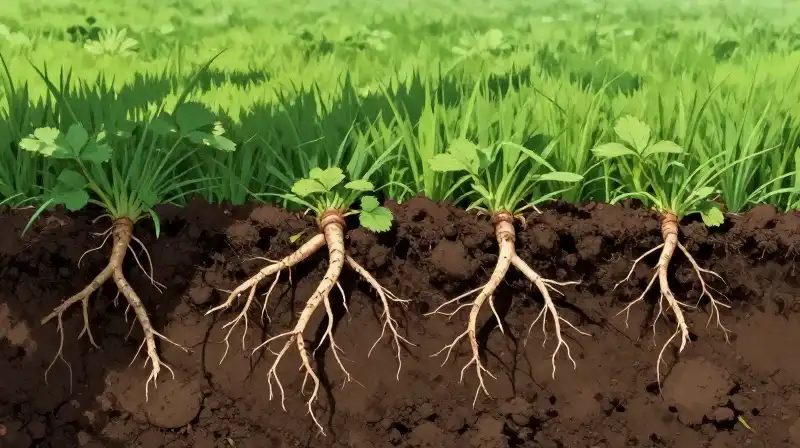
One of the most common errors in planting is selecting the wrong dimensions. To allow the roots ample space for expansion and drainage, the planting hole must be sized correctly. For this variety, a practical rule is to make the hole approximately 1.5 times wider than the diameter of the rootball.
When preparing the soil mix, avoid using standard heavy garden clay alone. The optimal blend for Green Velvet Boxwood consists of combining half native garden soil with half specialized organic planting mix. This blend ensures both the structural stability provided by the native soil and the necessary aeration and moisture retention from the organic components, which is vital for new growth.
Step-by-Step Planting Process
Once the hole is dug and the soil mix is ready, the physical planting of the Green Velvet Boxwood must be executed with precision. Proper root positioning is what dictates whether the plant establishes itself quickly or struggles.
Setting the Depth and Elevation
The depth of the planting should be slightly less than the overall depth of the rootball. More importantly, the top surface of the rootball must be positioned slightly above the existing ground level. This elevated positioning serves a dual purpose: it promotes excellent drainage, reducing the risk of root rot, and provides structural stability for the heavy, dense canopy.
Filling the Hole and Stabilizing
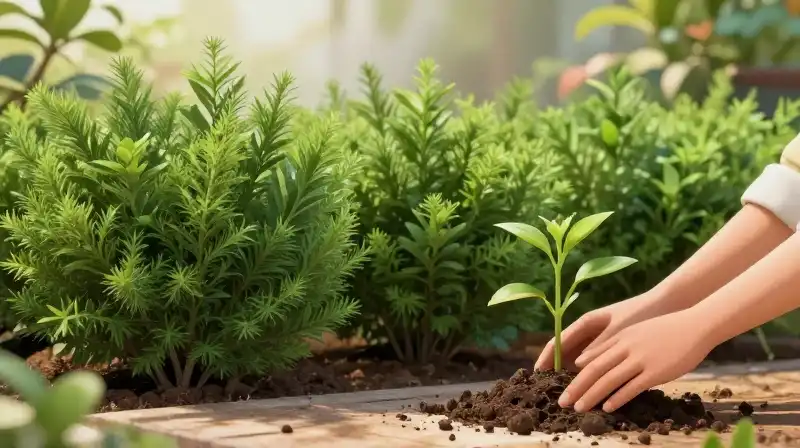
Carefully place the shrub into the prepared hole. Once positioned correctly, gently backfill the space around the rootball using the prepared soil blend. As you backfill, gently tamp the soil to eliminate any large air pockets. It is important to avoid heavy compaction, which would restrict root growth and negate the benefits of the loose planting mix.
Establishing the Plant: Water and Mulch
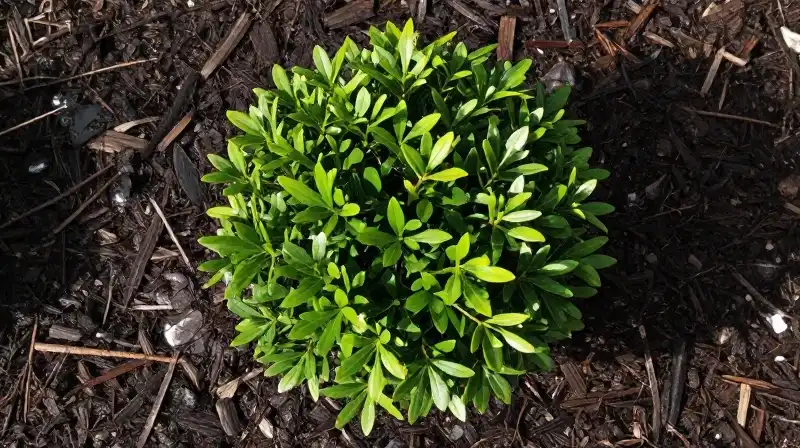
Initial care focuses entirely on establishing the new root system and managing moisture to support its development. These steps provide the necessary foundation for the shrub to grow large and dense over time.
- Creating the Soil Ring (Berm): After the soil is filled, create a slight soil ring or berm around the base of the plant. This subtle mound helps in concentrating water and prevents runoff from stripping the soil away, aiding in water retention.
- Initial Watering: Immediate and slow initial watering is crucial. You must provide deep, consistent moisture early on to encourage the roots to spread and anchor themselves firmly.
- Applying Mulch: Apply a two-inch layer of mulch around the entire circumference of the plant. Mulch helps moderate soil temperature and conserves the moisture essential for new growth. Crucially, maintain a clear buffer zone between the mulch and the main trunk of the boxwood to prevent moisture buildup which could lead to stem rot.
Understanding Green Velvet Boxwood’s Resilience
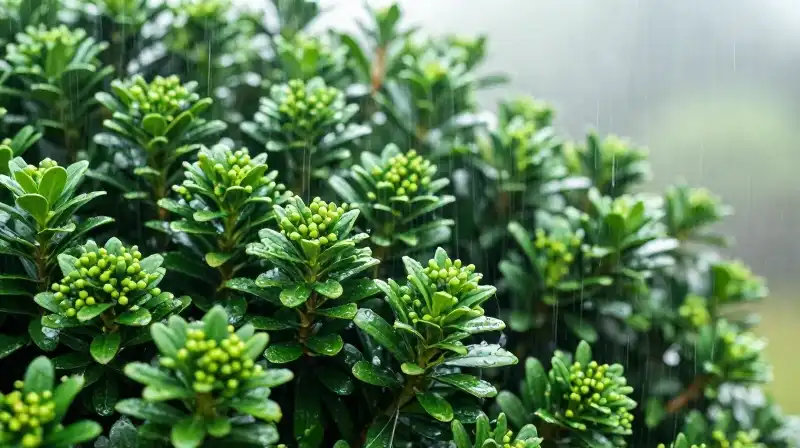
One of the reasons this variety remains so popular is its inherent resilience. This robust nature allows it to thrive in various demanding environments, making it a reliable long-term investment for landscape design.
Hardiness Against Environmental Stressors
Green Velvet Boxwood demonstrates strong tolerance to typical environmental stresses. Its hardiness includes an ability to withstand urban smog, fluctuating climates, and drought conditions, making it suitable for diverse planting conditions. This durability reduces the likelihood of needing constant intensive care.
Defense Against Pests and Browsers
The plant is naturally inclined to resist common pests and diseases. Furthermore, it exhibits resistance to deer browsing. This makes it an excellent choice for areas with wildlife or where maintaining a pristine, uniform appearance is a high priority, reducing the need for constant intervention.
For those seeking information on related searches like Green Velvet Boxwood size or Green velvet boxwood spacing, remember that while its structure is naturally spherical, its dense growth suggests that careful spacing must be planned according to your specific layout to allow light penetration and airflow, maintaining its healthiest shape.
Practical Checklist and Maintenance
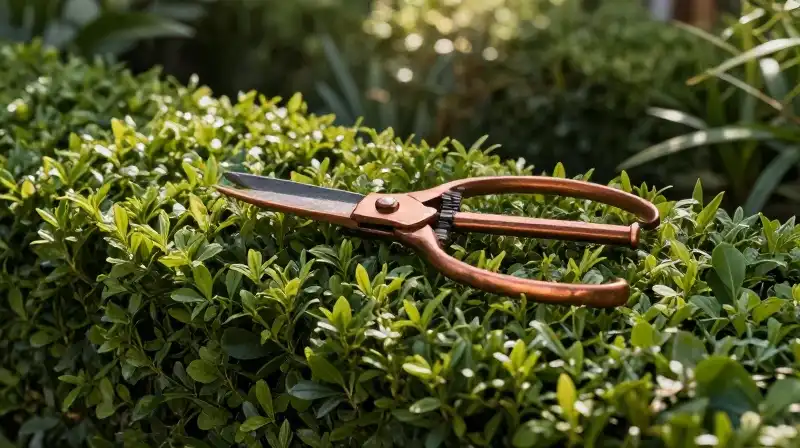
Successful long-term ownership of your Green Velvet Boxwood involves minimal upkeep, thanks to its inherent strength. However, a few key checks ensure its continued success.
- Drainage Check: Regularly check that the rootball remains slightly elevated to ensure proper drainage, especially after heavy rain.
- Water Management: While drought tolerant, the newly planted shrub requires slow, consistent initial watering. Once established, deep, infrequent watering is generally more effective than light, daily sprinkling.
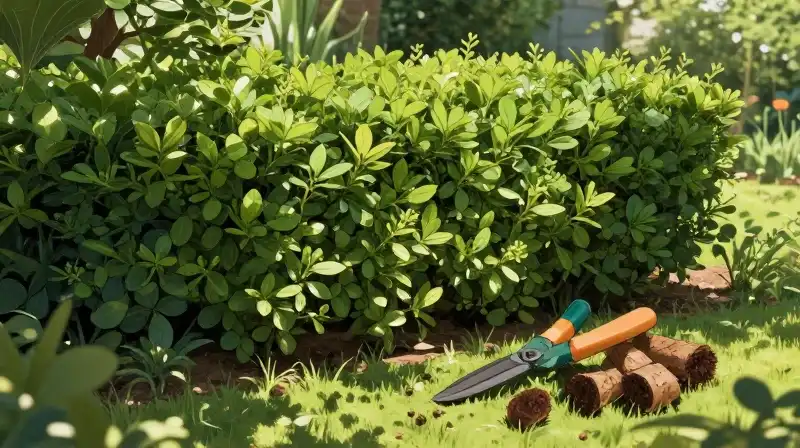
- Trimming: Though hardy, minimal maintenance is required. Periodic pruning helps maintain the desired dense, formal shape.
Summary of Success
The success of Green Velvet Boxwood planting hinges on specific details: utilizing a well-aerated soil blend, positioning the rootball slightly above the surrounding ground level to optimize drainage, and protecting the newly established plant with a proper mulch buffer. By addressing these initial setup phases, you harness the plant’s natural resistance to stress, ensuring that the stunning emerald velvet texture and dimensional structure of the boxwood will thrive for years to come.
Frequently Asked Questions
How do you plant green velvet boxwood?
Plant Green Velvet Boxwood in a soil blend of half native and half organic planting mix, ensuring the rootball is positioned slightly above ground level for stability and drainage. After backfilling, create a soil ring, provide immediate deep watering, and apply a two-inch layer of mulch while maintaining a buffer zone away from the trunk.
How to Plant and Establish Green Velvet Boxwood
Prepare the Planting Basin and Soil
Dig a planting hole approximately 1.5 times wider than the diameter of the rootball. Create a soil blend by combining half native garden soil with half specialized organic planting mix to ensure stability and aeration.
Set the Depth and Position
Place the shrub in the hole so that the top surface of the rootball is slightly above the existing ground level to promote excellent drainage and structural stability.
Backfill and Tamp Gently
Gently backfill the space around the rootball with the prepared soil blend, tamping lightly to eliminate air pockets while avoiding heavy compaction.
Create the Soil Ring (Berm)
After filling the hole, create a slight soil ring or berm around the base of the plant to help concentrate water and prevent soil runoff.
Apply Initial Watering
Provide deep, consistent initial watering to encourage the roots to spread and anchor themselves firmly into the new soil.
Apply Mulch for Maintenance
Apply a two-inch layer of mulch around the entire circumference of the plant. Maintain a clear buffer zone between the mulch and the main trunk to prevent moisture buildup and stem rot.
Related Articles