Growing Breadseed Poppies from Seed: A Step-by-Step Guide

Introduction
If you are planning to grow poppies from seed, selecting the right variety is the most crucial first step. While many people associate poppies with delicate, challenging perennials, *Papaver somniferum*—also known as the Hungarian or breadseed poppy—is the primary annual variety prized for its ease of cultivation from seed. Unlike many traditional oriental poppies that require specialized growing conditions, these annual poppies thrive with straightforward horticultural care. Success, however, hinges on understanding that they require a specific cold period before they will germinate effectively.
This guide provides a step-by-step approach to successfully growing these vibrant plants, focusing on precise planting techniques and the seasonal requirements needed to move from tiny seeds to a full, flowering crop ready for harvest.
The Essential Requirement: Cold Stratification
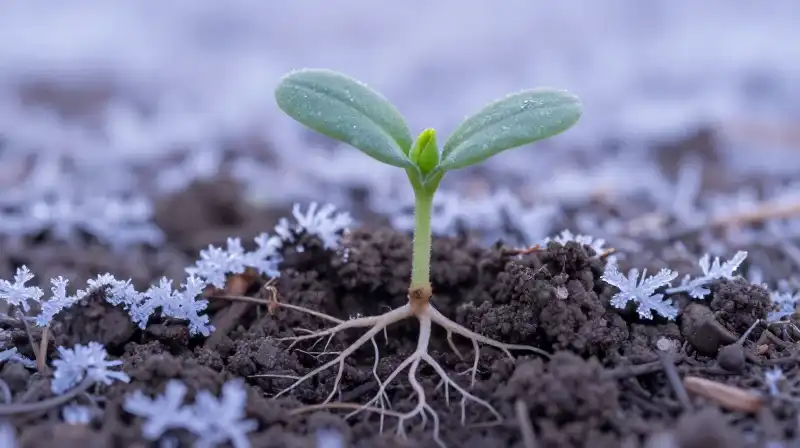
The single biggest factor determining the success of growing *Papaver somniferum* from seed is achieving proper stratification. Poppies require a preceding cold period to “break dormancy” and successfully initiate germination. Attempting to sow these seeds during the warmest part of spring without providing this cold exposure will result in very poor or no germination.
Stratification is essentially mimicking the natural winter conditions these seeds evolved in. This means they must experience a sustained chill before planting in the garden. Many successful gardeners utilize the “winter seed sowing” method, which involves starting the seeds early and allowing them to spend time in a cool environment, often under a cold cover or inside a refrigerator (in a damp paper or moss medium), to meet this requirement before they are transplanted into the final garden site.
Direct Sowing Techniques and Timing
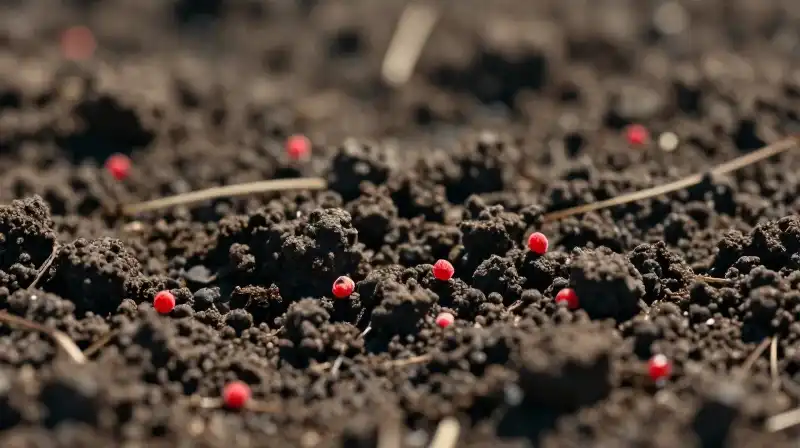
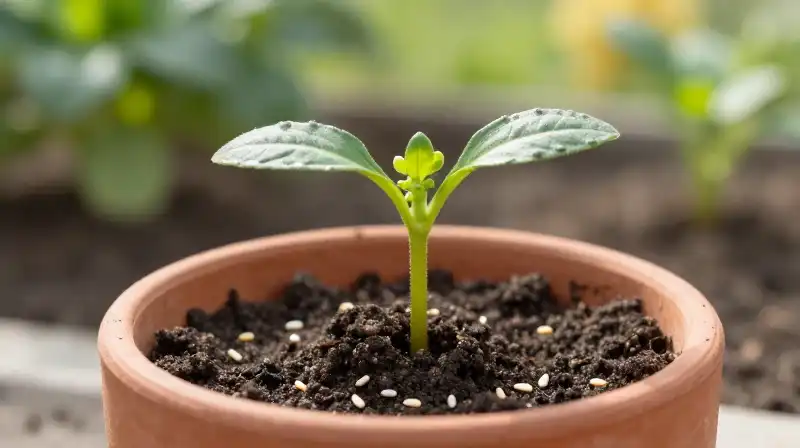
Once the required cold period has been met, the optimal time for planting is late winter. Direct sowing is the preferred method for growing breadseed poppies, as they are not typically successful when started indoors. This means the seeds go directly into the garden soil.
Because the seeds are quite tiny, they are planted relatively lightly across the designated planting spot. This method allows for easy establishment and avoids the complexity of transplant shock. For maximum success and consistent growth, ensure the soil is well-draining, providing an ideal environment for the root systems to establish themselves quickly once the seedlings sprout.
Managing Early Growth and Seedling Separation
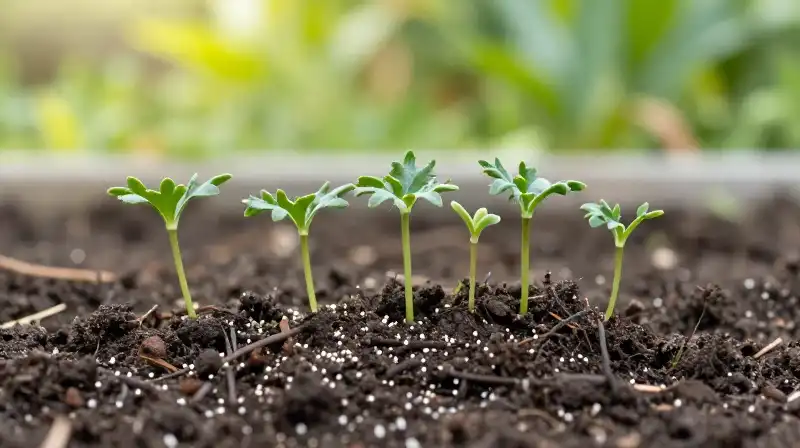
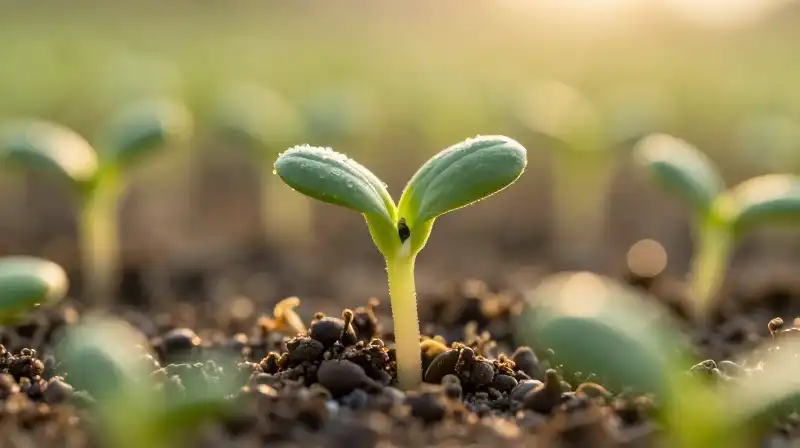
The germination phase is swift. Once the seed successfully sprouts, the seedlings tend to grow vigorously. A key technical aspect of this variety is the initial appearance of the foliage; it typically develops a unique, waxy, glaucous blue color. This distinct coloration is part of the plant’s early development.
As the plants grow, they are often strong enough to be separated from the sowing medium. When the seedlings reach a height of approximately one inch, they can be carefully separated. If the root systems are not disturbed during this separation, the plants tend to establish themselves rapidly in their new location, often doubling in size within a single week.
Caring for the Poppies to Achieve Harvest

After the seedlings are established, the focus shifts to long-term care, which is crucial for both plant health and harvest quality. The foliage of these poppies, while beautiful in its early blue stage, will naturally begin to fade and transition into a brown color by the end of July.
To maintain the plant’s vigor and ensure the seed heads mature properly, gardeners should practice foliage maintenance. This involves “cutting back” the plants. While you cut away the mature leaves, you must leave the seed heads intact. This maintenance ensures that the energy of the plant is redirected toward ripening the seeds, leading to a successful yield. Poppies make a striking, enchanting addition to any mixed garden borders during their blooming phase.
How Long Do Poppies Take to Grow? Timeframe and Lifecycle
Since breadseed poppies are annuals, they have a relatively quick lifecycle from sowing to harvest. While the exact time varies based on local climate and seed quality, the growth process can be broken down into distinct phases:
- Dormancy Break: Several weeks of cold (stratification).
- Germination: Typically rapid once the soil temperature is appropriate.
- Early Establishment: About 1-2 weeks (when separation is performed).
- Maturity/Flowering/Harvest: The poppies can bloom and reach harvestable maturity relatively quickly after establishment, generally within 2 to 3 months depending on the season.
A Practical Checklist for Growing Success
Growing *Papaver somniferum* is generally straightforward, but achieving excellent results requires adherence to a specific sequence of conditions. Instead of simple timing, you must focus on the required environmental conditions for the seed.
Before you begin planting, confirm these critical points:
- Cold Exposure: Verify that the seeds have undergone proper cold stratification, often achieved by winter sowing.
- Planting Method: Use direct sowing in well-drained soil.
- Early Care: Monitor early growth closely and separate seedlings gently when they reach the one-inch height mark to prevent root damage.
- Maintenance: Throughout the summer, manage foliage by cutting it back while leaving the seed heads untouched to optimize seed ripening and yield.
Frequently Asked Questions
How long do poppies take to grow from a seed?
After early establishment, which takes about 1-2 weeks, the poppies can bloom and reach harvestable maturity generally within 2 to 3 months, depending on the season.
How to Grow Papaver Somniferum (Breadseed Poppies)
Achieve Cold Stratification
Ensure the seeds have undergone proper cold stratification, typically achieved by winter sowing, as this cold period breaks dormancy and initiates germination.
Direct Sowing
Plant the tiny seeds directly into the garden soil using a light scattering method in well-drained soil during late winter.
Monitor and Separate Seedlings
Monitor the early growth closely and carefully separate the seedlings from the sowing medium once they reach a height of approximately one inch to prevent root disturbance.
Maintain Foliage During Growth
Practice foliage maintenance by cutting back the mature leaves throughout the summer while leaving the seed heads intact to redirect plant energy towards successful seed ripening.
Related Articles