
How to Build a Custom Conservatory: Design, Installation, and Kits


Introduction
Building a custom conservatory is an investment in space, light, and structural longevity. Unlike simple garden additions, a proper conservatory is an engineered glazed structure designed to integrate seamlessly with your home while surviving extreme environmental conditions. The modern approach to building one involves utilizing high-specification, custom-made self-build kits rather than relying on mass-produced inventory. This process allows homeowners to leverage the expertise of professional in-house teams—architectural designers, engineers, and specialized manufacturers—while maintaining the control and cost-efficiency of a self-build project. If you are planning to build a conservatory, understanding the shift from a simple DIY weekend project to a highly customizable, sequential construction process is essential.
Designing Your Custom Conservatory
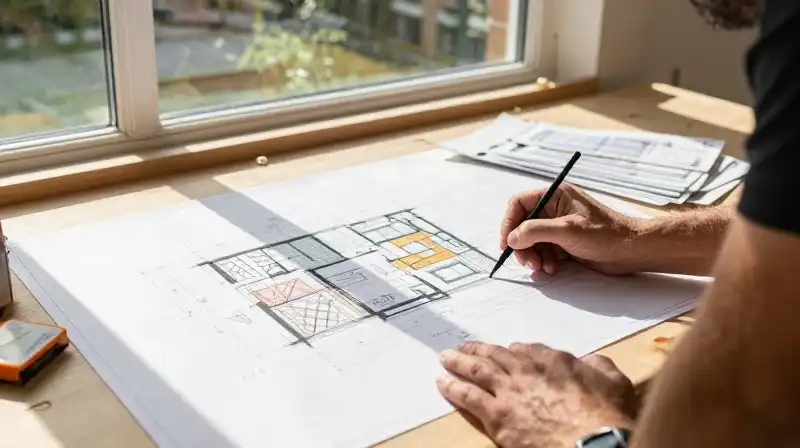
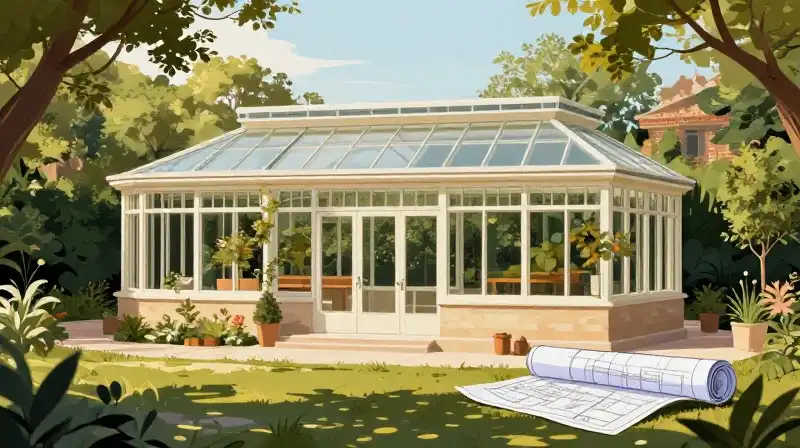 The foundation of any successful conservatory is a design tailored to your exact specifications. Because these structures are built via a custom manufacturing process, they are optimized for your unique structural requirements and aesthetic preferences. A specialized designer works with you to ensure the layout is optimized for your specific footprint and lifestyle, addressing both architectural vision and practical functionality.
Customization and Structural Requirements
The design process extends far beyond choosing colors and finishes. Structural integrity is a paramount concern. Conservatories are engineered to accommodate high DP (Design Pressure) ratings, meaning the structure can withstand significant external forces, such as severe weather, high winds, and heavy snow loads. You have expansive control over nearly every aspect of the design, including:
- Layout and Size: Optimizing the configuration for your specific room dimensions.
- Finishes and Aesthetics: Selecting specific materials for internal and external cladding.
- Hardware and Configuration: Tailoring door and window functions to unique preferences.
- Glazing Choice: Selecting between traditional polycarbonate or high-performance double-glazed glass.
The Modular Self-Build Kit Approach
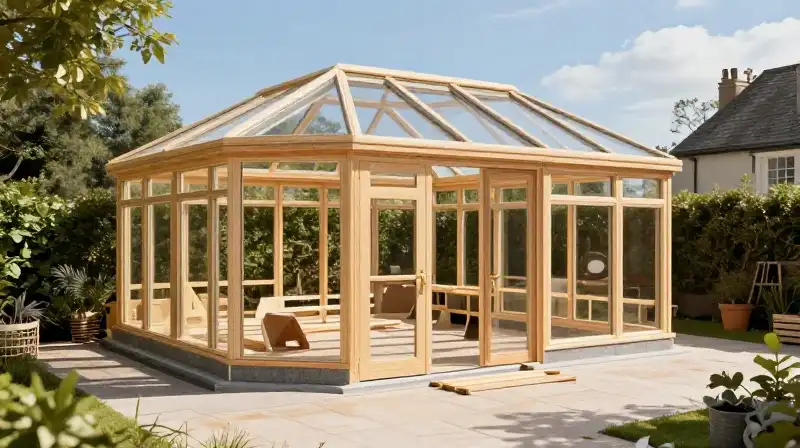 A major advantage of utilizing a modern self-build kit is the precision and standardization of the components. Instead of trying to source varied materials and align them manually, these projects rely on pre-manufactured sections that arrive ready for rapid assembly. The modular system allows for a significantly accelerated construction timeline. Where a traditional build might take weeks of complex fabrication, these standardized systems can potentially reduce the installation to just two days, provided the foundation work is completed.
Foundation and Site Preparation
Before any steel sections arrive, the groundwork must be completed according to the supplied plan. This initial phase focuses on creating a stable, level platform for the entire structure. The process involves:
- Constructing the base pads, typically using concrete or foundation blocks.
- Ensuring the site is perfectly level, as the subsequent bolted modular sections depend on precise alignment for a secure fix to the home structure.
Sequential Installation: From Frame to Finish
The installation of a modular conservatory is a structured, sequential process. The provided kits include detailed instructions to ensure that both a fully DIY project and a professional installation proceed smoothly.
Building the Structure
The assembly moves from the ground up:
- Base and Floor: The initial components (pads/base) are installed, followed by the pre-manufactured steel wall sections. These walls often include elements like brick slips, which aids in a quicker, cleaner transition from the existing home structure.
- Wall and Frame Assembly: The modular sections are joined using bolted connections and adjustable feet. This ensures a secure fix to the foundation while allowing for precise alignment.
- Roof Structure: Once the perimeter frame is complete, the roof framework begins with the fitting of a ring beam and rafters, setting the stage for the glazing.
Internal Glazing and Finishing
With the primary structure secure, the focus shifts to enclosure and aesthetics. The roof is completed by installing the chosen glazing (polycarbonate or double-glazed units). Once the frame is completely enclosed, the conservatory is internally glazed. The final touches involve installing external and internal trims, as well as essential systems like gutters, which protect the structure and manage water runoff.
Evaluating Construction Options
 When building a custom conservatory, the choice of labor and construction method impacts cost, speed, and quality assurance. | Construction Method | Primary Characteristics | Ideal Scenario | | :--- | :--- | :--- | | **Fully DIY Project** | Maximum control over pace; utilizes comprehensive kits and instructions. | Homeowners with substantial construction experience and time availability. | | **Professional Installation** | Guaranteed adherence to structural engineering standards; quicker, less manual labor. | Homeowners prioritizing speed and professional oversight over cost savings. | | **Approved Installer Network** | Blends professional expertise with kit quality; minimizes risk and ensures warranty compliance. | The most common and recommended route for those needing specialized assembly. | Choosing the self-build kit approach provides a significant advantage in terms of cost savings compared to traditional, fully custom construction methods, as the manufacturer handles the complex off-site fabrication of the materials.
Ensuring Longevity and Quality Assurance
A critical factor when selecting a custom conservatory is the assurance of its longevity. Because these are engineered structures designed to withstand extreme loads and environmental stress, quality control is built into the manufacturing process. When selecting a kit and installer, look for the following quality indicators:
- DP Ratings: Confirmation that the structure is engineered for high Design Pressure ratings, validating its ability to resist wind and weather.
- Manufacturing Process: Verification that the components are precision-engineered (custom-made) rather than simply adapted from general inventory.
- Warranty: A robust warranty, such as the standard ten-year guarantee offered on manufactured conservatories, provides confidence in the structural integrity and materials used.
Final Considerations and Practical Warnings
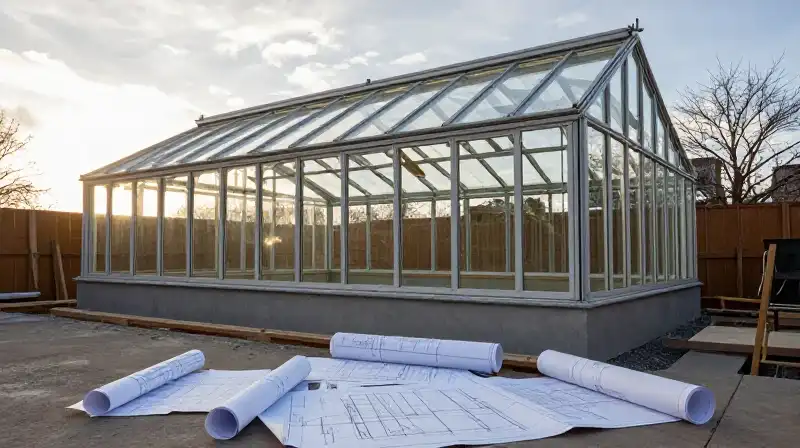 Building a custom conservatory is a rewarding project, but it requires careful planning to avoid common pitfalls. The primary practical warning is to maintain absolute precision during the foundation phase. Any misalignment in the initial pads or base will compound errors throughout the modular assembly, compromising the structural integrity of the entire frame. Additionally, while self-build kits offer cost efficiency, always consult with a certified professional when making structural alterations to your property, particularly regarding the connections between the conservatory and the main home structure. The provided documentation and professional guidance are designed to mitigate risk, but external building regulations must always be followed.
How to Build a Custom Conservatory Using a Self-Build Kit
Prepare the Site
Construct the base pads using concrete or foundation blocks and ensure the entire site is perfectly level for the subsequent modular assembly.
Install Base and Floor Components
Install the initial components and pads, followed by the pre-manufactured steel wall sections, incorporating elements like brick slips for a cleaner transition from the existing home structure.
Assemble Walls and Frame
Join the modular sections using bolted connections and adjustable feet to secure the structure to the foundation while maintaining precise alignment.
Construct the Roof Structure
Fit a ring beam and rafters to the perimeter frame to establish the framework necessary for the roof and glazing.
Install Glazing
Complete the roof by fitting the chosen glazing, which can be polycarbonate or high-performance double-glazed units.
Complete Interior Finishing
Internally glaze the structure once the frame is fully enclosed.
Finalize Exterior and Systems
Install external and internal trims, and fit essential systems such as gutters to manage water runoff and protect the structure.
Related Articles