Hydroturf Installation: Preparing Soil and Spraying Grass Seed

Introduction
Hydroturf is a specialized method of lawn installation that utilizes a mixture of wood mulch pulp, grass seed, and fertilizer, which is applied as a sprayed layer. This technique is designed to achieve rapid germination and effective coverage, particularly on large or difficult terrains. Successful installation, however, relies entirely on thorough ground preparation. This guide details the precise sequence of steps—from initial site clearing to final soil grading—necessary to ensure your lawn establishes strongly when using spray grass seed.
Phase 1: Ground Preparation and Site Clearing
 Before any seeding occurs, the ground must be completely cleared and structurally sound. This phase dictates the success of the entire process.
Vegetation and Rock Removal
The initial step is the systematic removal of all unwanted vegetation and weeds. This ensures that the new grass seed is not competing with existing growth for nutrients and space. Simultaneously, inspect the yard and remove any rocks exceeding 1 ½ inches in diameter. Leaving large stones in the soil base can create pressure points and disrupt root growth, leading to future turf failure.
Soil Base and Structural Requirements
For a new lawn to be established successfully, a minimum soil base of four inches is required. This depth allows for adequate root development and provides a stable anchor for the turf. Furthermore, if you are planning to install a sprinkler system—which is highly recommended—ensure the soil depth accommodates the necessary plumbing and wetting patterns required for daily establishment watering.
Phase 2: Mechanical Preparation and Loosening
Once the site is clear, the focus shifts to preparing the soil structure to receive the spray and subsequent roots.
Tilling and Loosening the Substrate
The existing soil must be tilled or loosened to a depth of ¾ inch. This action breaks up compacted layers, allowing the wood mulch pulp and seed from the Hydroturf mixture to penetrate deeply and ensuring proper moisture and air circulation around the developing roots.
Leveling the Application Area
Use a rake to carefully level the prepared area. This is a critical step that addresses high and low spots across the landscape. Proper leveling ensures that the subsequent spray application is consistent and prevents future runoff or uneven growth patterns.
Phase 3: Applying the Spray Grass Seed
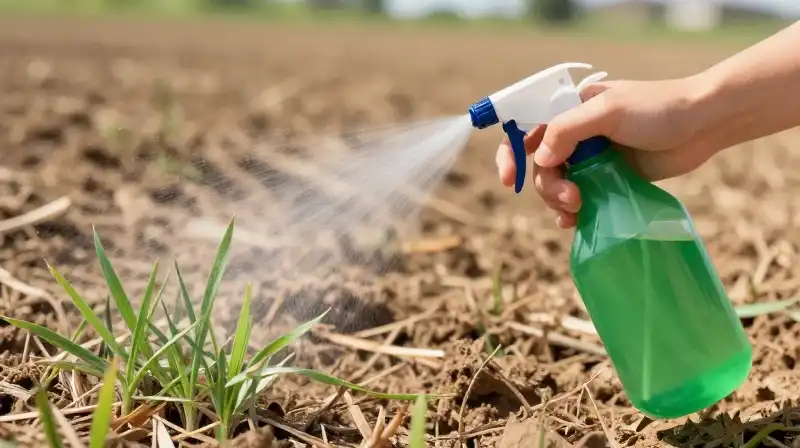 This phase involves the direct application of the specialized mixture.
Seeding Density and Distribution
Lawn seeds must be spread with precision. The recommended density is 5–10 pounds of seed per 1,000 square feet. Using a suitable spreader is crucial to guarantee an even distribution of the Hydroturf mixture across the entire treatment area, preventing patchiness.
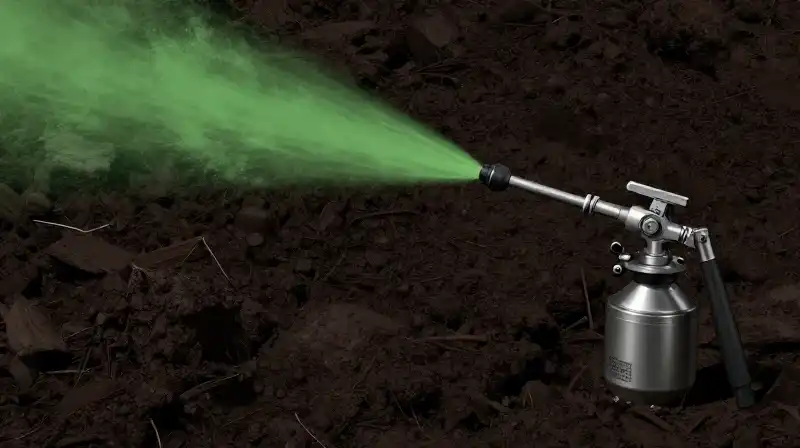
The Role of the Green Tint
Many applications incorporate a green tint into the wood mulch mixture. This addition is a practical tool for applicators, allowing them to visually track where the spray has been delivered. This ensures comprehensive coverage and helps prevent areas from being overlooked during the initial application.
Phase 4: Post-Application Care and Establishment
 The job is not finished when the seed is applied; the final steps determine the long-term health of the turf.
Final Grading and Protection
After seeding, final grading involves raking in the seed mixture and covering it with a thin layer of soil. This protective layer helps retain moisture, reduces the impact of heavy rain, and provides additional protection for the delicate sprouts.
Establishing Watering Regimes
The establishment phase requires consistent moisture. If a sprinkler system is installed, adjust the settings to facilitate required daily watering. This consistent moisture is essential for the rapid germination fostered by the Hydroturf composition.
Troubleshooting Large Area Application
When applying spray grass seed over large areas, the process requires careful logistical planning. Utilize equipment appropriate for the scale of the yard to ensure uniform distribution. It is wise to divide very large areas into manageable sections to maintain consistent application rates and prevent the mixture from drying out before full coverage is achieved.
Maintaining Turf Health and Avoiding Common Errors
To ensure the longevity of your installation, be aware of the common pitfalls.
Critical Pitfalls to Avoid
The most frequent errors in Hydroturf installation include:
- Failing to remove sufficient rocks, leading to future growth inhibition.
- Inadequate soil loosening, which restricts root access to nutrients.
- Applying the spray without adequate leveling, which creates drainage issues.
- Failing to provide consistent water during the establishment phase, which causes patchy and weak growth.
Decision Criteria for Best Results
The success of your lawn installation depends on the balance between preparation and application. If your existing soil is highly compacted (hard clay or concrete base), prioritize deepening the tilling stage. Conversely, if you have excellent soil but very uneven topography, prioritize the leveling phase.
Synthesizing Success: Priorities for Lasting Turf
 Successful Hydroturf installation moves systematically from foundational clearing to targeted application. Prioritize soil structural integrity (minimum four inches, loosened to ¾ inch) before focusing on the seed density. While the spray grass seed offers a rapid start, the consistent effort in leveling and final post-application watering ensures the new turf can withstand environmental stressors and achieve a robust, permanent presence.
How to Install Hydroturf Lawn
Site Clearing
Systematically remove all unwanted vegetation and weeds, and inspect the yard to remove any rocks exceeding 1 ½ inches in diameter.
Soil Base Preparation
Ensure a minimum soil base of four inches is present and stable, accommodating any necessary plumbing if a sprinkler system is planned.
Mechanical Loosening
Till or loosen the existing soil to a depth of ¾ inch to break up compacted layers, ensuring adequate air and moisture circulation.
Level Application Area
Use a rake to carefully level the entire prepared area to address high and low spots and prevent future runoff.
Apply Hydroturf Mixture
Spread the specialized Hydroturf mixture (5–10 pounds of seed per 1,000 square feet) evenly across the treatment area using a suitable spreader.
Final Grading
Rake in the seed mixture and cover it with a thin layer of soil to retain moisture and protect the delicate sprouts.
Establish Watering Regimes
Maintain consistent moisture during the establishment phase, adjusting sprinkler settings to facilitate required daily watering for rapid germination.
Related Articles