How to Fix Overwatered Plants: Guide to Root Recovery and Health

Introduction
Over-watering is often harder to diagnose than under-watering because a plant’s visible stress, such as wilting, can be a completely misleading symptom. If your plant’s soil remains consistently wet yet it is drooping or displaying signs of struggle, you are likely dealing with a case of over-watering. This condition does more than just keep the roots soggy; it suffocates them and sets the stage for irreversible decline. Fixing an over-watered plant requires a dual approach: immediate triage to halt the damage, and long-term structural changes to restore the health and air circulation around the roots.
The Biology of Stress: How Overwatering Damages Roots
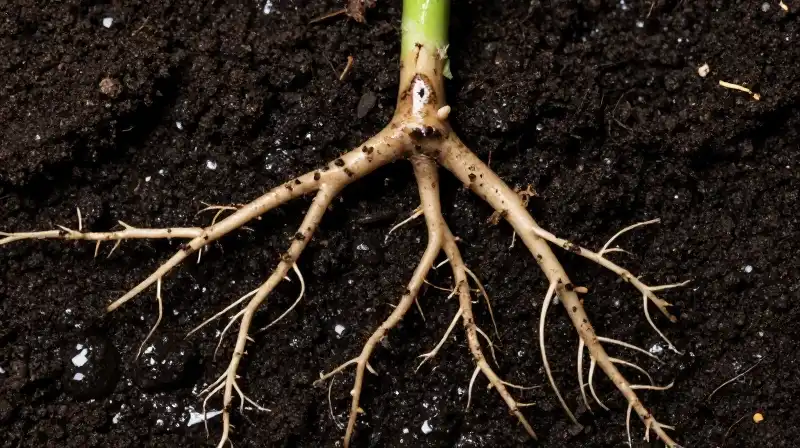 To successfully treat an over-watered plant, you must first understand the “why.” Constant saturation eliminates the necessary air pockets within the potting medium. Roots need oxygen just like humans do; when the soil is perpetually flooded, they suffocate. This Lack of Oxygen (hypoxia) creates ideal breeding grounds for specific fungal pathogens, leading to root rot. Furthermore, the damage is compounding because of nutrient lockout. Healthy roots act as a mechanism to absorb fertilizer and minerals. When roots are suffocating or damaged by fungi, they lose their ability to uptake water and nutrients, resulting in visible deficiencies—often manifesting as light green or yellow foliage, even if you are providing proper fertilizer. The stress you see above ground is the consequence of a biological disaster happening underground.
Immediate Triage: How to Rescue a Severely Watered Plant
When a plant is clearly suffering from excessive moisture, the primary goal is to reduce the environment’s water requirements and stabilize the root system immediately. Do not attempt to “save” it by watering more; it needs the opposite. The recovery protocol involves three critical immediate steps:
- Halt Irrigation: Stop all further watering immediately.
- Relocate for Less Evaporation: Move the stressed plant to a shadier or more filtered light area. This significantly reduces the rate of transpiration (water loss through the leaves), which in turn reduces the total water volume the root ball needs.
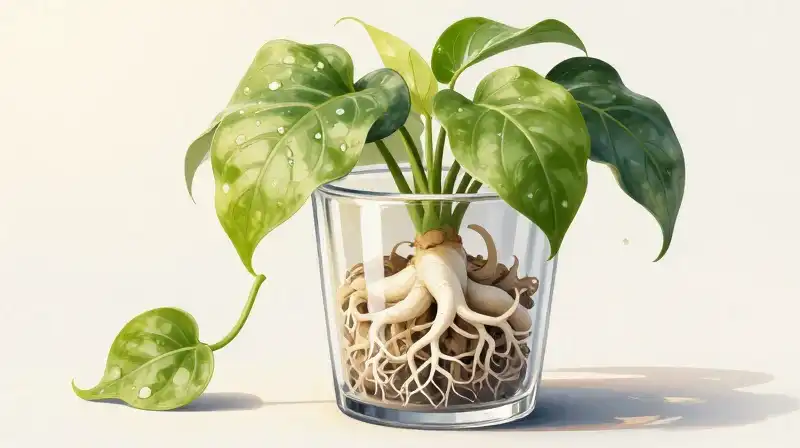
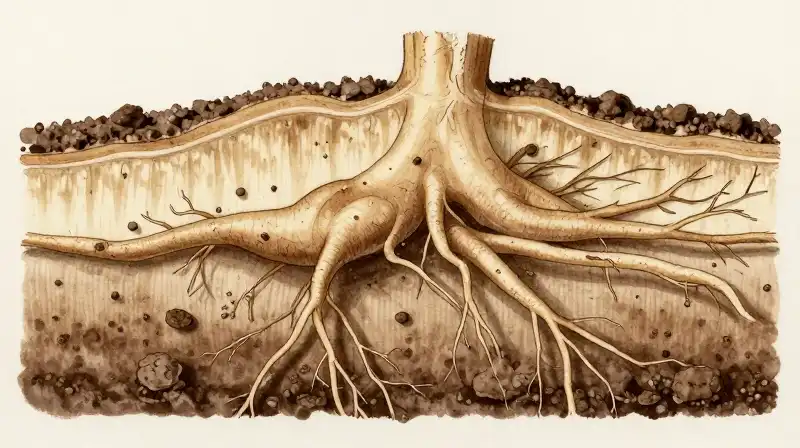
- Conduct a Root Inspection: Gently remove the plant from the pot to assess the extent of the damage. Healthy roots are firm and white or light brown. Damaged roots from root rot are typically black, mushy, and emit a foul odor.
If root rot is evident, use sterile pruning shears to cut away all dark, mushy, compromised roots, leaving only the healthy, firm root sections.
Systemic Repairs for Long-Term Root Health
 Once the immediate crisis is managed, structural improvements are necessary to prevent recurrence. These changes focus on giving the roots the oxygen and space they need to breathe.
Improving Drainage and Soil Structure
A planter that does not have adequate drainage holes is a ticking clock for over-watering. Ensure your chosen container has sufficient drainage. If the pot does have holes but sits in a saucer, do not let the plant sit in standing water for more than a few minutes after watering. The quality of the soil is equally important. If the current potting mix is dense, heavy, or highly clay-based, it will retain water too long. To improve aeration, consider these options:
- Soil Aeration: Using a dull chopstick or fork, gently poke a few small holes around the root ball (do not pierce the roots themselves) to encourage small air pockets near the surface.
- Amend the Medium: If the soil is compacted, mixing in light, inorganic materials like perlite, pumice, or coarse horticultural sand can dramatically increase drainage and porosity.
The Repotting Decision
If the roots are severely damaged, or if the plant is in a pot that has become so tightly bound with dense, degraded soil that it cannot drain properly, repotting is the strongest solution. When repotting: * Use a fresh, lightweight, well-draining potting mix. * Ensure the new container is appropriate for the mature size of the plant to prevent the pot from becoming unnecessarily large. * Place the plant in the new medium and water only enough to settle the soil. Allow the plant to acclimate slowly.
Mastering the Art of Prevention: Establishing a Watering Routine
The ultimate goal of fixing an over-watered plant is to establish a reliable routine that prevents this cycle from starting again. The mistake most people make is watering on a schedule rather than on a need basis. The most practical and reliable technique is to use the dry-soil test: * Instead of adhering to a fixed schedule (e.g., “every Sunday”), stick your finger one inch or two inches into the soil. * Only water when the top several inches are completely dry to the touch. This ensures the root ball has had a period to “breathe” and drain. Regarding nutrition, when a plant is recovering from severe stress, it is best to hold off on heavy fertilization until the plant shows distinct signs of new growth. Once stabilized, resume light, frequent fertilization to support recovery, but always use a diluted solution to minimize the risk of adding to the nutrient load.
Final Precaution: A Synthesis of Care
 Recovering an over-watered plant requires both decisive action and extreme patience. Success depends on recognizing that the issue is almost always related to compromised root health caused by a lack of oxygen, not just an excess of moisture. By prioritizing fast triage, implementing structural changes to maximize drainage, and adopting a dry-soil testing method for all future watering, you provide the environment necessary for the roots to heal. Remember that even after a full recovery, continued vigilance regarding moisture levels is the only way to ensure sustained health and vibrant growth.
Explore more: Triquetra Meaning: Unpacking the Symbol of the Celtic Knot T
How to Rescue and Restore an Over-watered Plant
Halt Irrigation and Relocate
Stop all further watering immediately. Move the stressed plant to a shadier or more filtered light area to reduce the rate of water loss through the leaves.
Inspect and Prune Roots
Gently remove the plant from the pot to assess the roots. If root rot is evident (roots are black, mushy, and smell foul), use sterile pruning shears to cut away all compromised roots.
Check and Improve Drainage
Ensure the container has adequate drainage holes and, if it is sitting in a saucer, do not let the plant sit in standing water.
Amending Soil and Repotting
If the soil is dense or roots are severely damaged, consider repotting using a fresh, lightweight, well-draining potting mix. Optionally, amend existing soil by mixing in perlite, pumice, or coarse sand to increase porosity.
Establish a Watering Routine
Avoid fixed schedules. Use the dry-soil test: only water when the top one or two inches of the soil are completely dry to the touch.
Managing Fertilization
Hold off on heavy fertilization until the plant shows distinct signs of new growth. Once stabilized, resume light, frequent feeding using a diluted solution.
Stabilize and Acclimate
After repotting or significant repair, water only enough to settle the soil and allow the plant time to acclimate slowly to its new environment.
Related Articles